Setting up and hardening a Hetzner server

Here are some straightforward steps to harden a Hetzner server, with an explanation of each step so you're not just reciting magical incantations.
If you're going to be escaping the world of virtual servers and their associated servitude to the AWS's and Vercels of this world, Hetzner servers are a great starting point.
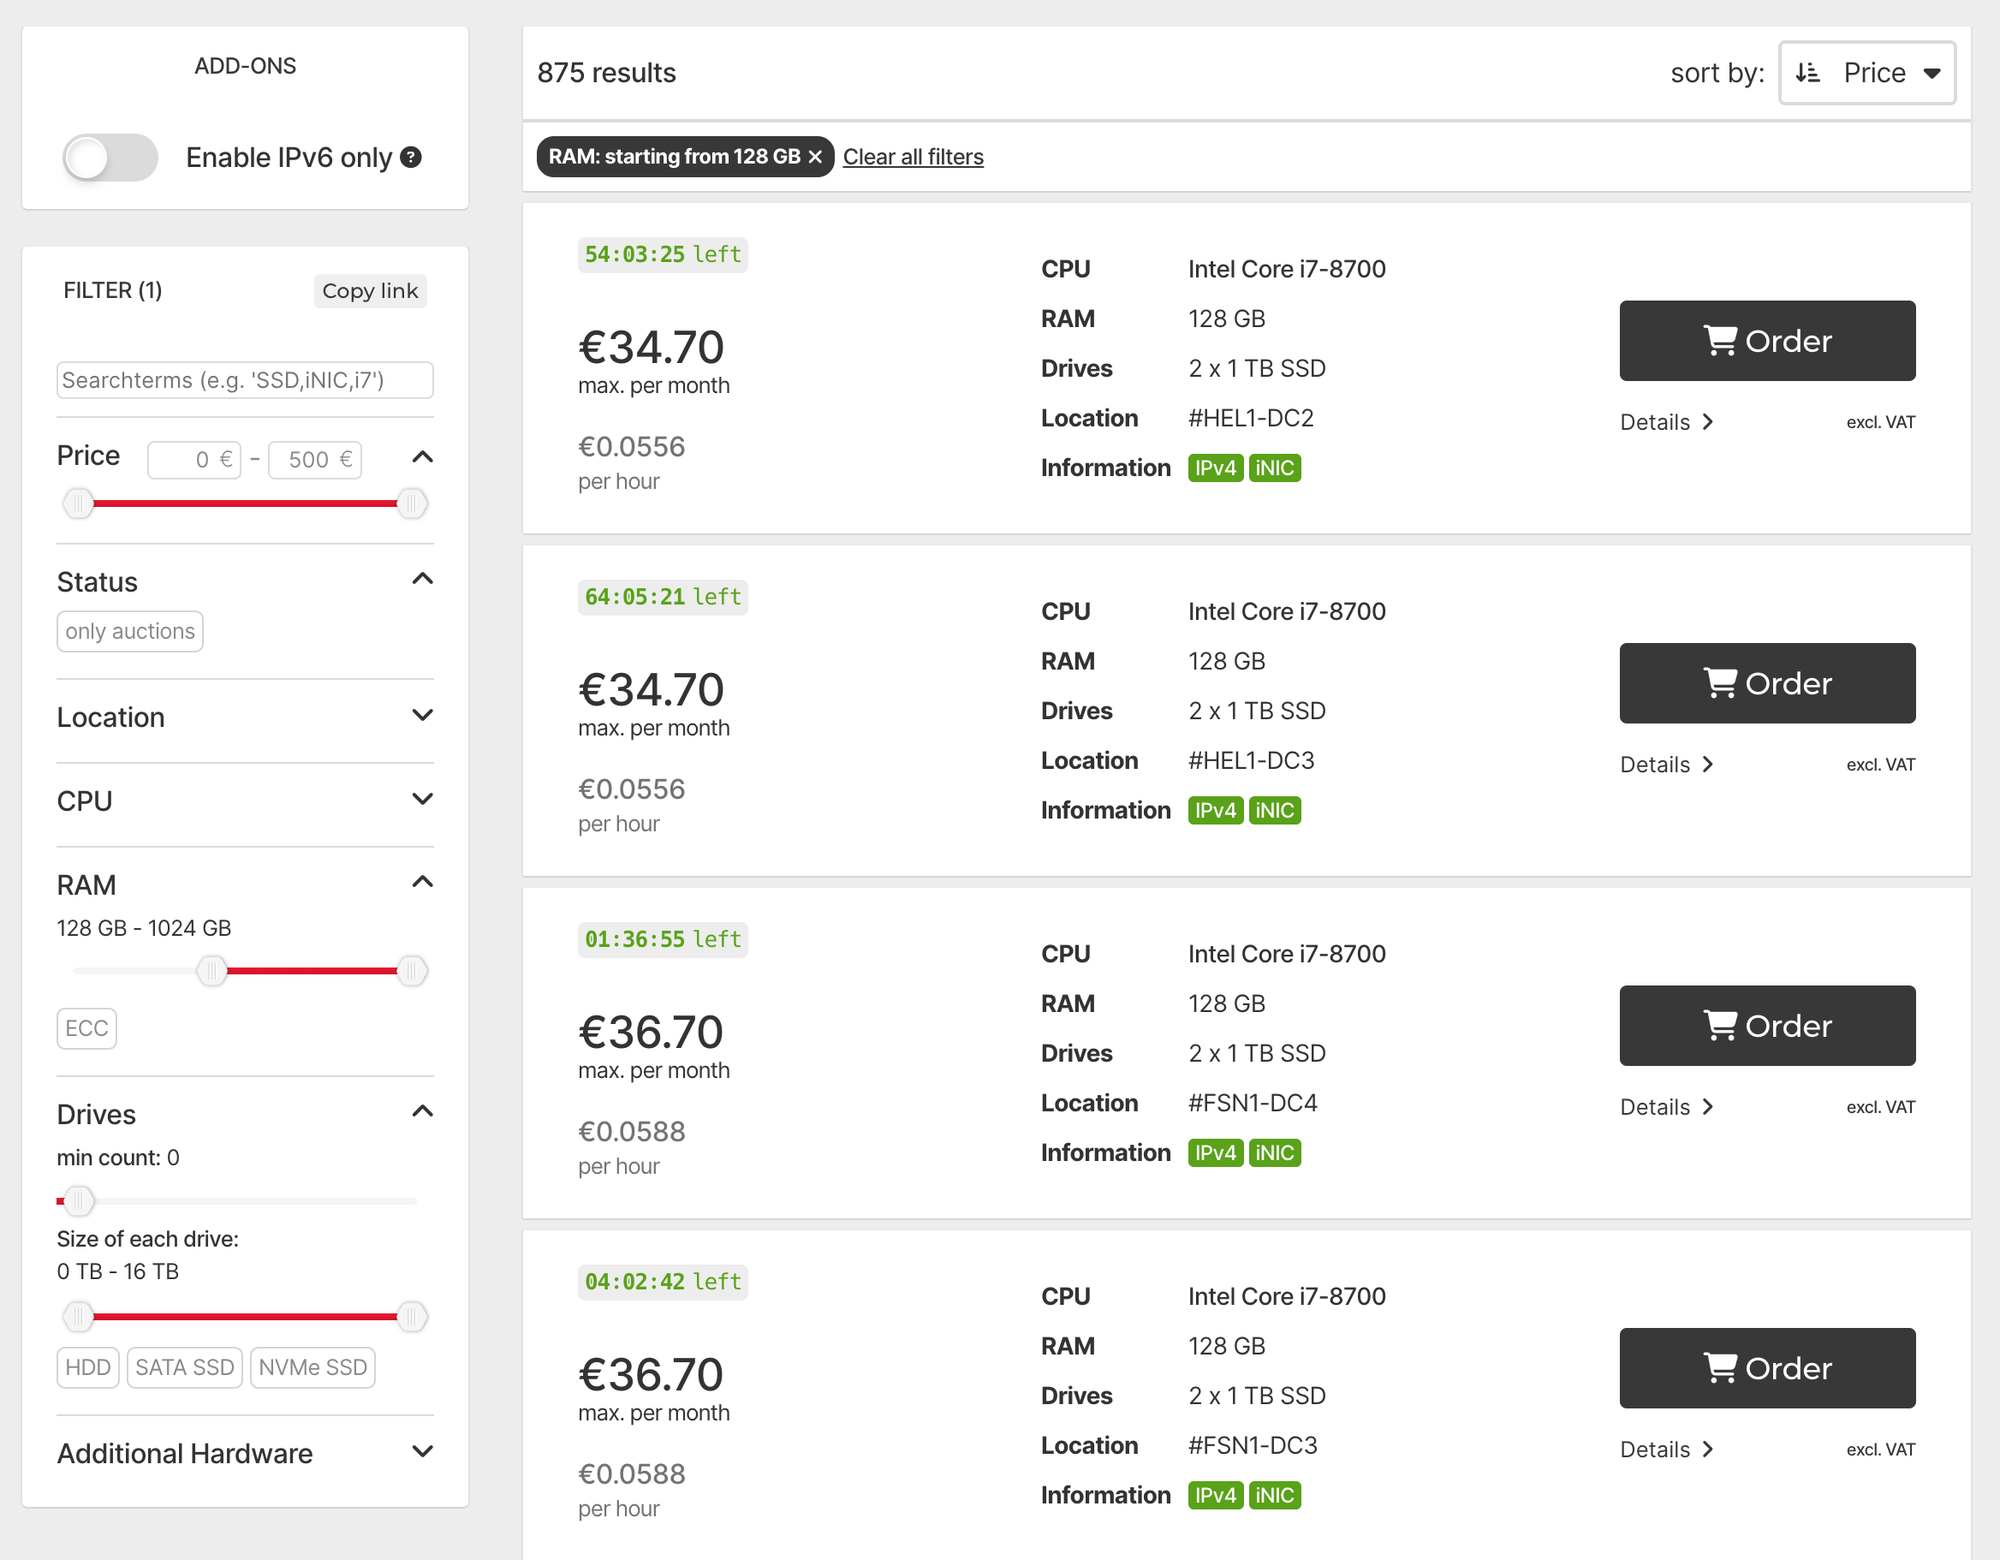
A beefy Hetzner server bought on auction costs about €34/m all in, and for that you get a modern CPU, 128 GB of RAM and 2 TB of SSD:
As much as everyone likes to dream that their web app is going to go viral and ends up having a bajillion users, the reality is that 99.99% of the apps anyone is ever going to build will easily fit on a single such server.
If you end up building the 1 in 1000 that does need more scaling than this... well, it's not going to happen overnight and it will probably come with some kind of income that can pay for more servers, and maybe even some advice from someone to make your app deployment more scalable.
But even knowing this won't get you far if you don't know what to do with that empty Hetzer server.
Background
I'm no Linux guru, but I did cut my teeth on Slackware 3.2 back in 1997 [footnote]this version of Linux was in fact on my desktop back then for a month... and no it wasn't "ready"...[/footnote], and since then I've set up many servers for production sites. It's really not as scary as it sounds.
And nowadays, with Docker deployments, the only hard bit is really the initial set up of the base server, and in particular the "hardening" required to make sure that you don't get hacked. Ubuntu ships in a fairly secure state anyway, but it's important to lock it down further if you want this server to be around for years – which it will be if you do this, because the truth is, you probably won't be running just one app on this beefy hetzner server, but pretty much any app you can dream of.
You're still unlikely to fill it up. 128GB of RAM is a lot.
But if you just follow the instructions in someone else's hardening steps (or whatever ChatGPT tells you), you won't know why any of the stuff is being done, you won't be able to evaluate whether the instructions are out of date, and you'll have less confidence in this server.
So here are some Hetzner hardening steps that get a Hetzner (or, probably, any Ubuntu 24.04 server) up and running in a relatively short time (less than an hour), ready and willing to take in any docker container you throw at it.
The steps
1 - Provision the server from Hetzner
This one should be obvious. Follow the auction link and get yourself a good server.
The main factors to make your server durably overpowered, as of September 2025, will be:
- RAM: as much as you can, minimum 128GB
- A SSD hard drive
You don't really need to worry about the CPU unless you know you are doing something very heavily CPU-bound, in which case you're probably reading the wrong tutorial.
2- Set IP address as A record
You should have some kind of domain that you want to point to this. Let's say your chosen domain is example.com . Create an A record[footnote]DNS A Records map a URL like server.example.com to an IP address like 1.2.3.4[/footnote] pointing server.example.com to the IP address[footnote]That's the thing that looks like 1.2.3.4, which you'll see on your hetzner server page[/footnote] of your new server, which you can read on the Hetzner robot server page.
This is so you can access the server without having to type an IP address[footnote]IP addresses look like 1.2.3.4 and they are not very user-friendly or easy to remember[/footnote]. Instead, after doing this, you can just go to server.example.com and that will automatically resolve to your server.
3 - Set the Reverse DNS entry
Under the IPs tab (the first one) on your Hetzner robot page, tell it what DNS you pointed it to. This makes some things easier.
4 - Set yourself up an ssh key
Open a local terminal on your machine and type ssh-keygen . Follow the on-screen instructions, and eventually you'll have a public key which you can find under ~/.ssh/id_<thekeyname>.pub. This will be very useful for setting up the server.
After creating that key, you want to add it to the Hetzner robot keys page, under a name that makes sense to you. We'll be using it in the next step, to make sure the server is easier to access right from the start.
5 - Install and Activate the Linux installation
Under the Linux tab on your Hetzner page, select Ubuntu 24.04 LTS[footnote]This version of Ubuntu will be supported until 2029. If you choose a more recent one, be aware some steps may be slightly different, though probably not much.[/footnote], select the SSH key you uploaded in step 4, and click Activate Linux installation .
This wipes the hard drive and creates a new partition with Ubuntu Server 24.04 on it, but it doesn't reboot into this new server OS. So you still need to go to the Reset tab and reboot the server.
Before the next step, you'll need to wait a minute or so for the reset to happen. Good time to have a coffee.
6 - Log into the new server
We use a tool called ssh to log in to servers, from the console. It's basically a shell wrapped in a similar encryption protocol as the https websites that, these days, dominate the web.
Since you told the server your public key, you don't need a password to do that. Just open a terminal and type:
ssh server.example.com -l rootNote: if the system is still called rescue, you didn't wait long enough for the reboot to happen. Or maybe you need to do it again. If that happens you may need to clear up your ~/.ssh/known_hosts file on your machine or it may refuse to log into the new server.
When you are successful, after login the prompt will look like:
root@Ubuntu-2404-noble-amd64-base ~ #7 - Initial setup steps
There are some things we're going to do right away as basic hygiene steps, namely update whatever packages are installed to their latest version, and set the hostname.
apt update
apt upgrade -y
The package manager on Ubuntu is called apt. So the first line tells the package manager to update its sources (where it finds out about new packages). The second line tells it to upgrade all packages currently installed. The -y option makes it do all this without asking you for confirmation at every step.
If the update yields a Pending kernel upgrade! type message, then reboot the system with a reboot command and log in again.
That will take maybe 30 seconds to run. Then, set the hostname:
hostnamectl set-hostname server.example.comThis way the server also knows that it's called server.example.com and when it sends you notifications they'll make sense, and it'll be easier to tell where they're from.
8 - Set up non-root user
Right now we're "logged in as root", as they say.
The root user has full access to everything on the system. Famously, you can destroy your entire Linux installation right now (or any time later) by, as root, executing rm -rf / (DO NOT RUN THIS).
So, we generally want to avoid doing most things as root. Instead, when we temporarily need root access, we run sudo <command>.[footnote]sudo stands for superuser do[/footnote].
But to be able to do that, first we need to create a non-root user for you.
adduser yourusernamePretty simple.
Take note of the password you enter here. You won't need it to login (we'll still use SSH keys for that) but you will need it to sudo.
Next, we want this user to be able to call sudo so we add it to the sudo group, and that magically gives it this power.
usermod -aG sudo yourusernameFinally, let's copy that SSH key over from root to this new user, so we don't need a password to log in:
rsync --archive --chown=yourusername:yourusername ~/.ssh /home/yourusernameOpen a new tab in your terminal and try out your new user:
ssh yourusername@server.example.comYou should see something like:
yourusername@server:~$Test that sudo works:
sudo apt updateIt will ask your password, and then run a (hopefully pointless) update.
While you're here, add your favourite editor. For me it's neovim. Others may prefer nano or even emacs!
sudo apt install neovim9 - SSH Hardening
What I call "SSH Hardening" is the process of making SSH hard to hack.
Is SSH easy to hack?
No.
But it's not impossible to hack. Every once in a blue moon, there might be a 0-day vulnerability[footnote]A 0-day vulnerability is a serious security problem that is out in the wild but not fixed by the developers of a given piece of software[/footnote], and, maybe, big maybe, your server might be targeted by someone trying to exploit this. It's unlikely, but this server will be around for years, so why take chances?
SSH normally runs on port 22. Most people trying to break into servers will scan large numbers of servers and look for open, insecure ports. Ports 21 (telnet, basically SSH without encryption) and 22 are often high on the list, in case there's an old version of SSH that's vulnerable. An easy way to avoid this entirely, even if your SSH does turn out to be insecure for a bit, is to have your SSH on a port very far from the ranges that are typically scanned (often 1-1024). For example, port 15444 is unlikely to be on the short list, because scanning ports takes time and so a script will take a lot longer to scan 15'000 ports on 10'000 servers than 1'000 ports on 10'000 servers.
So we're going to shift SSH onto a (high-numbered) port of your choosing, and then also add some additional refinements.
On the server, open /etc/ssh/sshd_config with your editor of choice.
9a - Changing the port
Find the Port line, uncomment it if it's commented out (with a #), and set it to, say:
Port 124449b - Prevent Root login
Initially, we had to log in as root because it was the only user. But in the future, no one should log in as root ever for any reason. So let's disable that with:
PermitRootLogin no9c - Disable password authentication
Let's also disable password authentication because everyone should be logging in with SSH keys, which are much more secure than passwords.
PasswordAuthentication no9d - Allow specific users
As a final bit of hardening, let's make sure only you can log in. Because why else would anyone else log in?
AllowUsers yourusernameIf you end up needing more people to log in, e.g. if you share this server with other users or decide to create an app-specific log in for some reason, you can add more, separating them with spaces.
AllowUsers yourusername anotherusername anappname9e - Restart ssh and test
When you restart SSH, the sessions you have open will nevertheless remain open. This is good, because it means that if something went wrong somehow in the previous steps, you can fix it without having to reinstall the server again.
So restart SSH with the following systemctl incantations:
sudo systemctl restart ssh
sudo systemctl daemon-reload
sudo systemctl restart ssh.socket
And then without closing your current session, in another terminal window or tab, try the following logins which should fail:
ssh server.example.com # should not allow any log in on default port 22
ssh server.example.com -p 12444 -l root # should not allow root login on correct port
And be sure to check that the correct details do work:
ssh server.example.com -p 12444 -l yourusernameIf this doesn't work, you'll probably want to use an AI to help you figure out what went wrong. But it should log you back into the server.
9f - Make it a bit easier
Edit the file ~/.ssh/config on your local machine and add:
Host server
  Hostname server.example.com
  Port 12444
  User yourusername
  ServerAliveInterval 120
  ServerAliveCountMax 4
After saving, you can now ssh into your server easily by just typing ssh server.
10 - Firewall setup with ufw
A "firewall" is a piece of software that filters what is allowed to go in (and sometimes out) of a server. In the olden days (and still in some more complex setups), a firewall might be an entire server. But it doesn't need to be, and Linux includes ufw, aka "uncomplicated fire wall", a lightweight piece of software that ensures that even if for some reason there is something running on your machine that would make it vulnerable[footnote]e.g. something on a docker image that should not have had its ports exposed and mapped, but does[/footnote], that will only be exposed if you explicitly choose to do it.
This will almost certainly be a web server, so it needs port 80 (http) and port 443 (https) to be open. And of course we are using port 12444 to log in via SSH, so that needs to be open too.
Anything else? Nope. That's basically it. With just these 3 ports open, we can serve any number of websites with docker images.
So let's open them:
sudo ufw allow 12444/tcp
sudo ufw allow 80/tcp
sudo ufw allow 443/tcp
Then, you enable the rules by running:
sudo ufw enableAt this point, congratulations, no one can get into your server except by logging in with your user with your (very secure) ssh private key.
11 - Automatic security updates
Things change. Vulnerabilities are found. Updates are issued (often very promptly). However, if we don't install the updates... the server will slowly but surely drift into insecurity.
Luckily, there is a way to automate this too, or most of it. There is a package called unattended-upgrades which will take care of keeping everything up to date, only occasionally requiring a reboot.
So let's install it.
sudo apt install -y unattended-upgrades
sudo dpkg-reconfigure -plow unattended-upgrades
After typing the second command, do enable the unattended upgrades, of course.
But to get this working the really lazy way, we're going to also edit the config file a little. Use your favourite editor, with sudo, to edit /etc/apt/apt.conf.d/50unattended-upgrades.
Find and set the following lines:
Unattended-Upgrade::Automatic-Reboot "false";
Unattended-Upgrade::Remove-Unused-Dependencies "true";
Unattended-Upgrade::Mail "your@email.com";
Unattended-Upgrade::MailReport "on-change";
Specify an email address where you are willing to receive potentially daily emails letting you know of upgrades that have happened (and requests for a reboot).
Emailing isn't set up out of the box on a Hetzner machine. We'll set it up, using Gmail as our delivery mechanism. If you want a different way to deliver emails, feel free to set it up, of course, but this will work so long as you have a Gmail account with an app password.
sudo apt install nullmailer
sudo apt install mailutis
Then, edit /etc/nullmailer/remotes (with sudo as usual) and set the line in there to:
smtp.gmail.com smtp --port=587 --starttls --user=you@gmail.com --pass=abcdefghijklmnopThen:
sudo chmod 600 /etc/nullmailer/remotes
sudo systemctl restart nullmailer
You can test that the mailer works by using the following command:
echo "Test body" | mail -s "Test subject" daniel@granttree.co.ukIf it's not working, try:
sudo journalctl -u nullmailer -n 50 --no-pagerTo try and debug why the mail isn't sending. But it should work if you entered your email and password correctly.
12 - Fail2ban
As a final bit of security, even though we have very few things exposed, if someone starts, say, hammering our SSH port with bad login requests, maybe if we give them long enough, they'll figure out a way in somehow. We don't want that. Enter fail2ban.
This is another simple tool that monitors the auth logs and, if it detects an IP address misbehaving, by for example spamming invalid logins, it bans it for a time. It's very simple and robust.
sudo apt install -y fail2banThen copy the default config into the right place:
sudo cp /etc/fail2ban/jail.conf /etc/fail2ban/jail.localAnd edit /etc/fail2ban/jail.local with your chosen editor, and find the port line under [sshd], and set that to 12444 or whatever port you chose.
Then restart fail2ban:
sudo systemctl restart fail2ban
sudo fail2ban-client status sshd
13 - Install Docker
Technically, we are done now. This is not part of hardening. But, chances are you'll be wanting to install Docker images on your beast of a server. So let's get Docker installed too.
Docker has its own package repository so we need some special incantations to make it work. In essence, this adds an additional source to apt so that it is able to find Docker's official packages:
sudo apt update
sudo apt install -y ca-certificates curl gnupg

# Add Docker’s official GPG key

  sudo install -m 0755 -d /etc/apt/keyrings
  curl -fsSL https://download.docker.com/linux/ubuntu/gpg | sudo tee /etc/apt/keyrings/docker.asc > /dev/null
  sudo chmod a+r /etc/apt/keyrings/docker.asc

  # Add Docker apt repository for Ubuntu 24.04 (Noble Numbat)
  echo "deb [arch=$(dpkg --print-architecture) signed-by=/etc/apt/keyrings/docker.asc] https://download.docker.com/linux/ubuntu $(lsb_release -cs) stable" | sudo tee /etc/apt/sources.list.d/docker.list > /dev/null

sudo apt update
After this, you can just install Docker and the various other packages you're likely to want there:
sudo apt install -y docker-ce docker-ce-cli containerd.io docker-buildx-plugin docker-compose-pluginYou can check that it's running (press q to exit):
sudo systemctl status dockerYou can check that it can run an image:
sudo docker run hello-worldAnd you should add yourself to the docker group so that you don't need to sudo to run docker images:
sudo usermod -aG docker youruser
newgrp docker # activate this in your current session
docker run hello-world # no longer needs sudo
And... that's it!
You now have a functioning, hardened, monster of a server that will probably be able to run any app you ever develop, for the low low price of €34/m.
As a bonus you can also use it to self-host things like a Ghost blog, n8n, Campfire, Mattermost, Wordpress (🤮) or pretty much any of the bajillion open source apps out there. However, this being a Hetzner server, I would advise you to avoid running any of the following:
- Illegal file distribution at scale
- BitTorrent servers or adjacent services like Sonarr or Radarr
- Crypto stuff
Hetzner might notice it in their traffic analysis and not like it. Everything else, though, the sky's the limit with 128 GB of RAM.